How To Install Nextcloud on Ubuntu 20.04
Nextcloud is an open-source file sharing and hosting solution. It is like a Google Drive / Dropbox that permits you to store, collaborate, and share documents, pictures, and videos within your organization.
Nextcloud Enterprise is available with support, including phone and email access to Nextcloud developers.
Features
- Access your files anywhere.
- Share your files with the others and protect the links with a password.
- Supports two-factor authentication
- Tracking changes in your files.
More here.
Install Nextcloud on Ubuntu 20.04
You can install Nextcloud on Ubuntu using Snap or from Official archive.
1: Install Nextcloud using Offical Archive
System Requirements
Nextcloud runs on top of the LAMP stack,
Linux: Ubuntu 20.04 / 18.04, Redhat Enterprise Linux 8/7, CentOS 8/7, Debian 10.
Web: Apache 2.4 with mod_php
Database: MariaDB (10.2+) or MySQL (5.7+)
PHP: v7.2+
Install Apache, MySQL & PHP
Install the Apache webserver.
sudo apt update

sudo apt install -y apache2 libapache2-mod-php bzip2
Then, install the necessary PHP modules for Nextcloud installation.
sudo apt install -y php-gd php-json php-mysql php-curl php-mbstring php-intl php-imagick php-xml php-zip php-sqlite3
Enable mod_rewrite for NextCloud work properly.
sudo a2enmod rewrite
Also, you need to enable a few additional Apache modules.
sudo a2enmod headers

sudo a2enmod dir

sudo a2enmod env

sudo a2enmod mime
Restart the Apache service.
sudo systemctl restart apache2
Finally, Install the MariaDB server (v10.3) from the Ubuntu repository.
READ: How To Install MySQL 8.0 On Ubuntu 20.04
READ: How To Install MariaDB v10.4 On Ubuntu 20.04
sudo apt install -y mariadb-server mariadb-client
Create Database
If you are setting up a MariaDB server for the first time, then:
READ: How To Secure MariaDB Server with mysql_secure_installation
Log in to the MariaDB server using the root user to create a database.
You do not need to enter the root password when you prefix the sudo with mysql command. Just press the enter when MariaDB prompts for the root password.
sudo mysql -u root -p
Create a database called nextclouddb.
create database nextclouddb;
Grant permission to nextclouduser to access the nextclouddb database on the localhost with a password.
grant all on nextclouddb.* to 'nextclouduser'@'localhost' identified by 'password';
Exit from the MariaDB shell.
quit
Download Nextcloud
NextCloud offers Nextcloud tar archives for server admin’s to download and set it up on top of a LAMP stack manually.
wget https://download.nextcloud.com/server/releases/latest.tar.bz2

tar -jxvf latest.tar.bz2

sudo mv nextcloud /opt/
Update the ownership of Nextcloud directory so that the webserver can write data into it.
sudo chown -R www-data:www-data /opt/nextcloud/
Configure Apache in such a way the Nextcloud can be accessible by going to http://your.ip.addr.ess/nextcloud.
sudo nano /etc/apache2/sites-available/nextcloud.conf
Add below configurations to the above file.
Alias /nextcloud "/opt/nextcloud/"

<Directory /opt/nextcloud/>
  Require all granted
  AllowOverride All
  Options FollowSymLinks MultiViews

  <IfModule mod_dav.c>
    Dav off
  </IfModule>

</Directory>
Enable the newly created site.
sudo a2ensite nextcloud
Restart the Apache service.
sudo systemctl restart apache2
Setup NextCloud
Open a web browser and navigate to it Nextcloud setup.
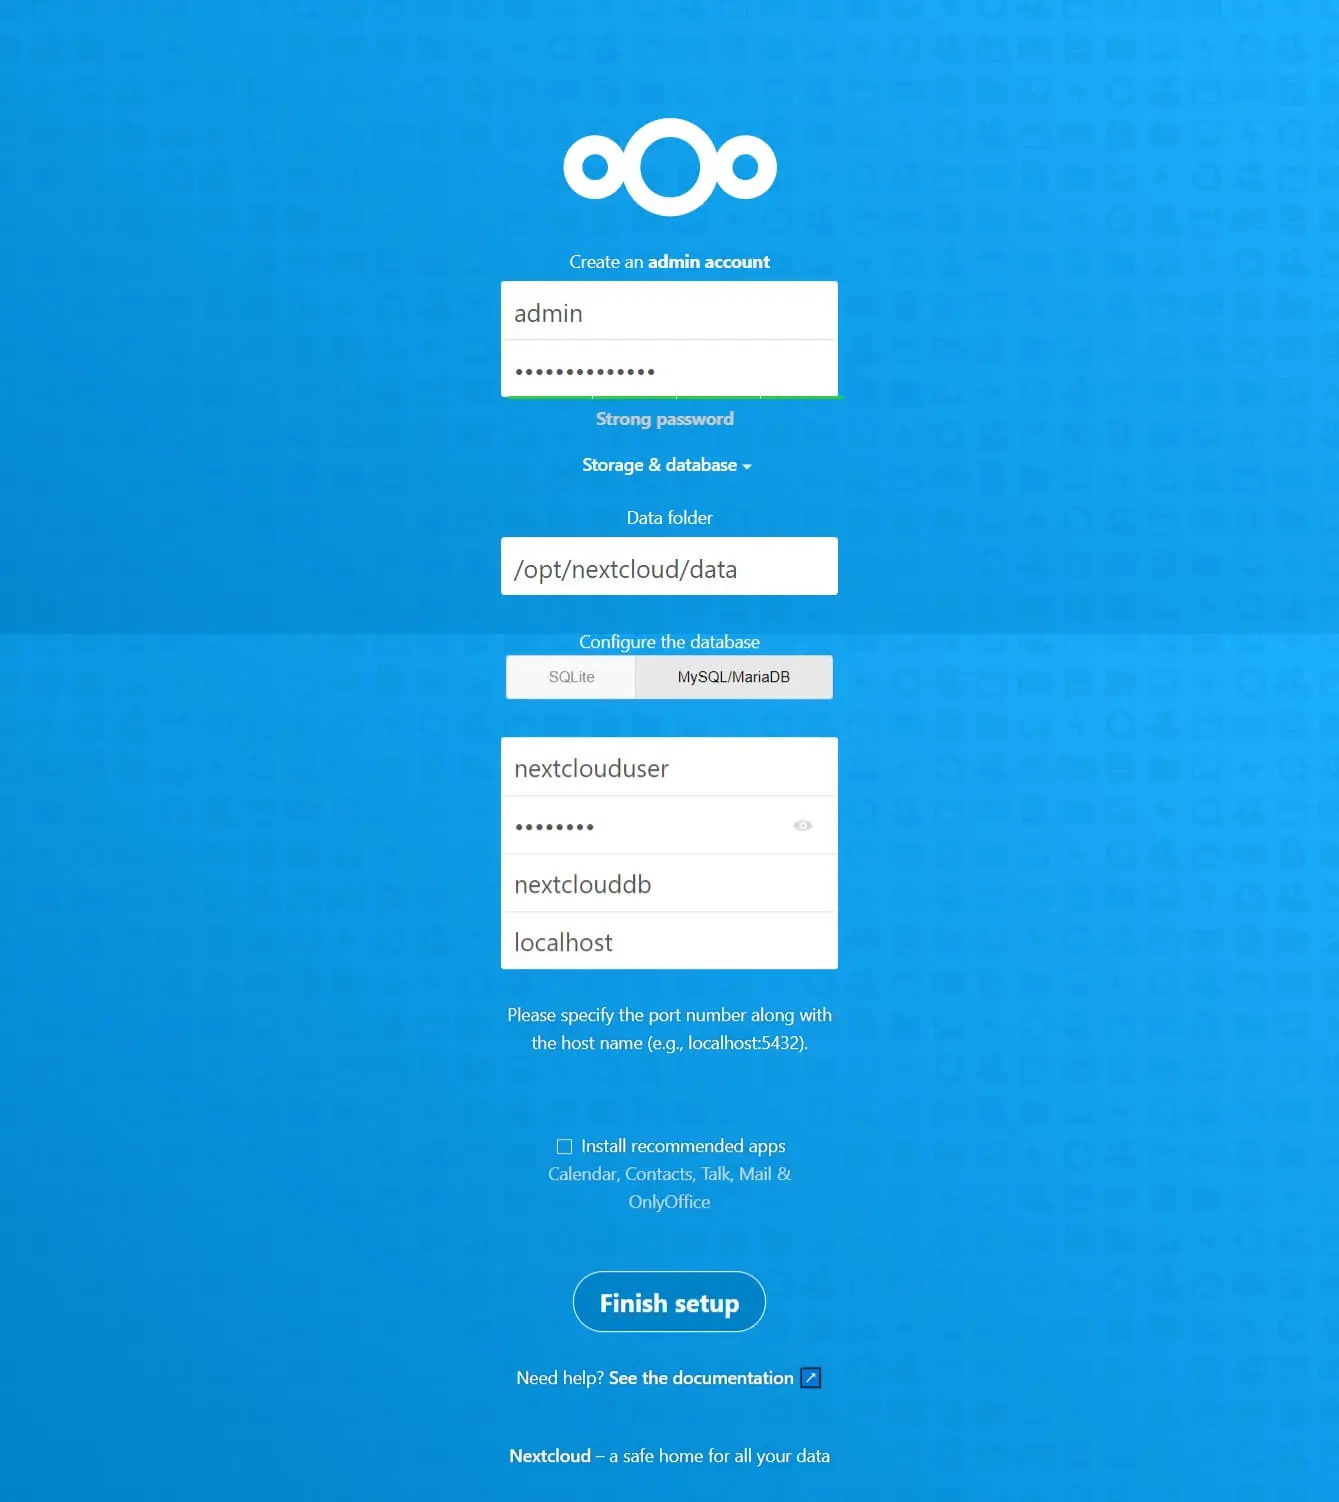
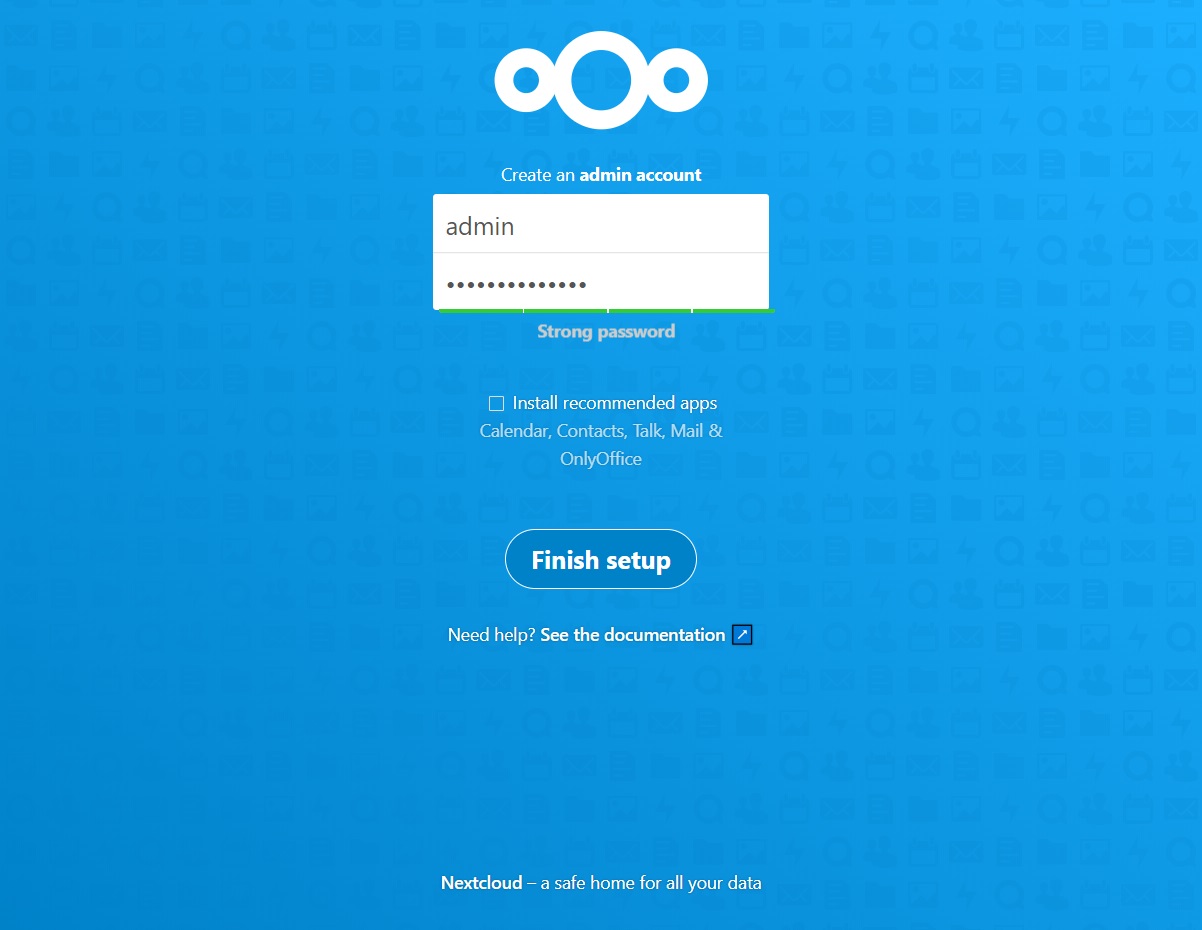
Enter the username and password for creating the admin account. Then, click on Storage and Database to set the location of the data folder to hold your files and the database information.
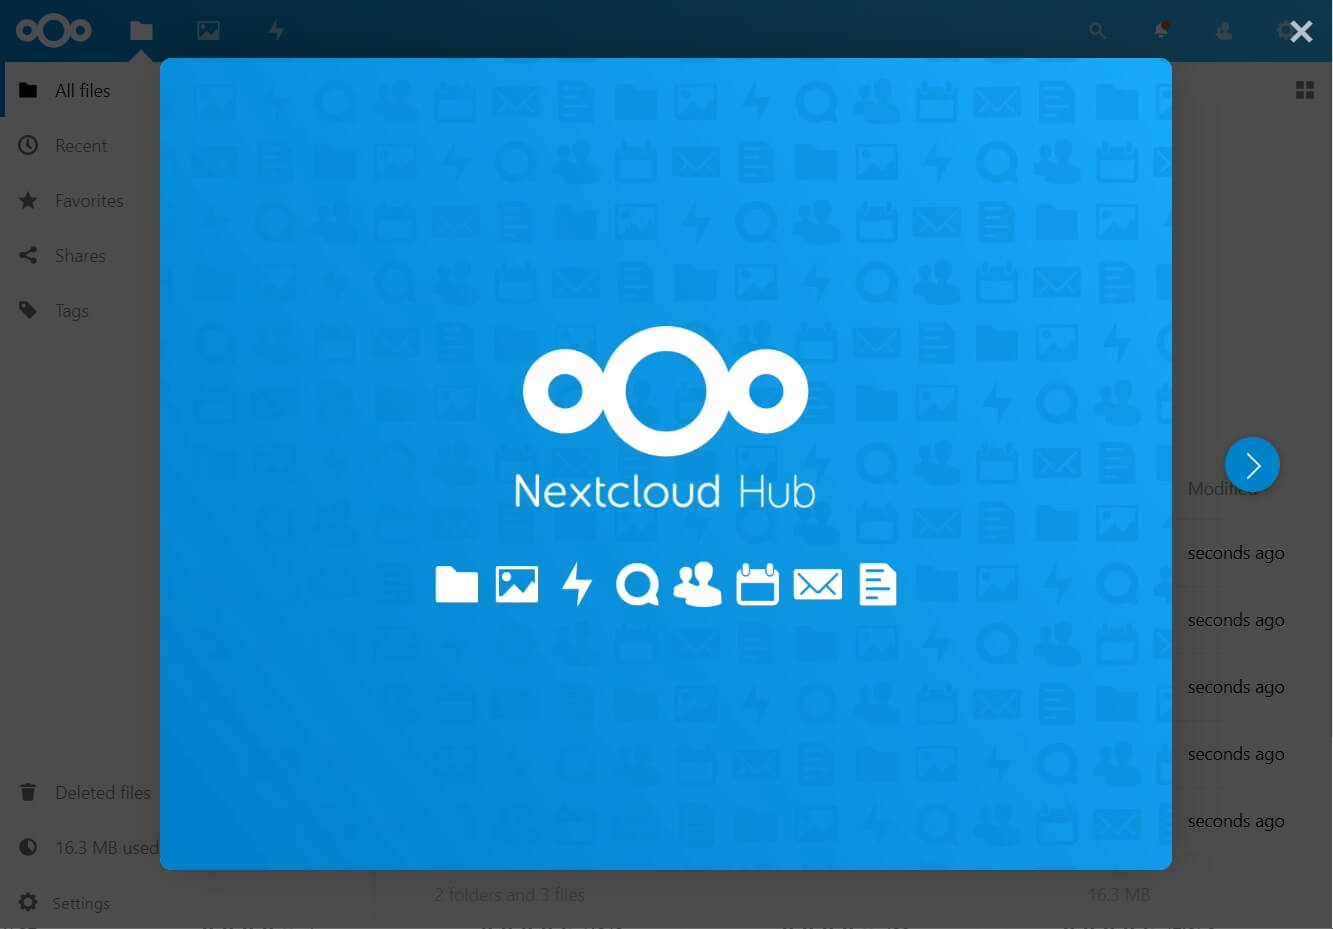
Click X to dismiss the popup.
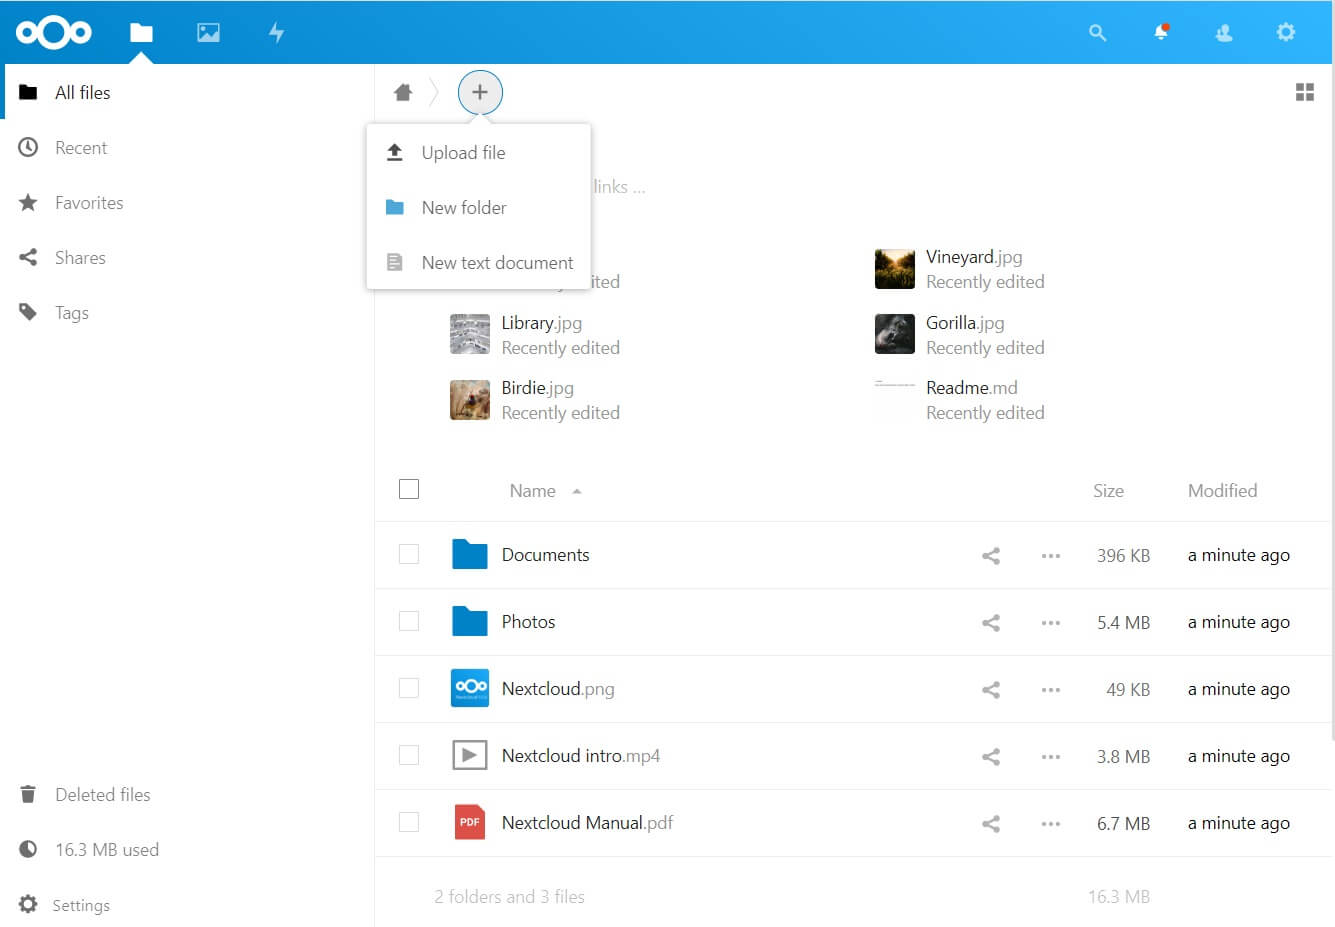
You will now get the home page of Nextcloud. Click the + sign button and then Upload Files to begin uploading files.
If you ever change your Nextcloud server ip address, you need to add the new ip address in trusted domains.
2: Install Nextcloud using snap
Install SNAP
First, install the Snap package manager with apt command.
sudo apt update

sudo apt install -y snapd
Install Nextcloud
Installing Nextcloud using snap is a straight forward way. Install Nextcloud with the snap command.
sudo snap install nextcloud
The Nextcloud installation may take a few minutes to complete.
Output:
nextcloud 18.0.4snap1 from Nextcloud✓ installed
Verify the Nextcloud installation using the below command.
sudo snap list nextcloud
Output:
Name       Version      Rev    Tracking       Publisher   Notes
nextcloud  18.0.4snap1  20498  latest/stable  nextcloud✓  -
Setup Nextcloud
Open a browser and navigate it to Nextcloud URL.
Enter the username and password for creating the admin account and then click Finish setup.

You will now get the home page of Nextcloud. Click the + sign button and then Upload Files to begin uploading files.

Conclusion
That’s All. I hope you have learned how to install Nextcloud on Ubuntu 20.04. As a security measure, you can consider enabling HTTPS for securing the uploading and downloading of files. Please share your feedback in the comments section.
![How To Upgrade To Ubuntu 20.04 From Ubuntu 18.04 / Ubuntu 19.10 [Detailed Guide]](/post/how-to-upgrade-to-ubuntu-20-04/featured_hu8b7fad8701aaa8998bccee63d00edef2_86059_550x0_resize_q90_lanczos.jpg)


![How To Upgrade To Linux Mint 20 From Linux Mint 19 [Detailed Guide]](/post/how-to-upgrade-to-linux-mint-20/featured_hu3b6c6a25dd04b6406f79faf78c8c0be6_108894_550x0_resize_q90_lanczos.jpg)


