Nagios is the most widely used open source monitoring tools which help us to monitor the services and application that run’s on Windows, Linux, Routers and other network devices. With the help of Nagios, you can monitor basic services and attributes.
We can access the Nagios using web interface coming with the bundle and configurations need to be done on the file level.
Services List
This Tutorial describes how you can monitor “private” services and attributes of Linux/UNIX servers, such as:
Attributes
- CPU load
- Memory usage
- Disk usage
- Logged in users
- Running processes
- etc.
Private Services
- HTTP
- FTP
- SSH
- SMTP
- etc
Install Nagios
Switch to the root user.
sudo su -
Install the dependencies for Nagios 4.
apt-get update
apt-get install build-essential apache2 php openssl perl make php-gd libgd2-xpm-dev libapache2-mod-php libperl-dev libssl-dev daemon wget apache2-utils
Create nagios user and nagcmd group (allowing the external commands to be executed through the web interface), add the nagios and apache user to the part of the nagcmd group.
useradd nagios
groupadd nagcmd
usermod -a -G nagcmd nagios
usermod -a -G nagcmd www-data
Download the latest version of Nagios Core.
cd /tmp/
wget https://assets.nagios.com/downloads/nagioscore/releases/nagios-4.4.2.tar.gz
tar -zxvf nagios-4.4.2.tar.gz
cd /tmp/nagios-4.4.2/
Compile and Install Nagios:
./configure --with-nagios-group=nagios --with-command-group=nagcmd --with-httpd_conf=/etc/apache2/sites-enabled/
make all
make install
make install-init
make install-config
make install-commandmode
make install-webconf
Configure Nagios
Sample configuration files have now been installed in the /usr/local/nagios/etc directory. These sample files should work fine for getting started with Nagios. You’ll need to make just one change before you proceed…
Edit the /usr/local/nagios/etc/objects/contacts.cfg config file with your favorite editor and change the email address associated with the nagiosadmin contact definition to the address you’d like to use for receiving alerts.
Change the Email address field to receive the notification.
define contact{
        contact_name                    nagiosadmin             ; Short name of user
        use                             generic-contact         ; Inherit default values from generic-contact template (defined above)
        alias                           Nagios Admin            ; Full name of user

        email                           [email protected]       ; <<***** CHANGE THIS TO YOUR EMAIL ADDRESS ******
        }
Configure Web Interface
Create a nagiosadmin account for logging into the Nagios web interface. Remember the password you assign to this account – you’ll need it later.
htpasswd -c /usr/local/nagios/etc/htpasswd.users nagiosadmin
Run the following command.
a2enmod cgi
Restart Apache to make the new settings take effect.
service apache2 restart
Download and Install Nagios Plugins
Download Nagios Plugins to /tmp directory.
cd /tmp
wget https://nagios-plugins.org/download/nagios-plugins-2.2.1.tar.gz
tar -zxvf /tmp/nagios-plugins-2.2.1.tar.gz
cd /tmp/nagios-plugins-2.2.1/
Compile and install the plugins.
./configure --with-nagios-user=nagios --with-nagios-group=nagios
make
make install
Start Nagios
Verify the sample Nagios configuration files.
/usr/local/nagios/bin/nagios -v /usr/local/nagios/etc/nagios.cfg
Now, start the Nagios service.
systemctl start nagios
Enable Nagios to start automatically at system startup.
systemctl enable nagios
Access Nagios Web Interface
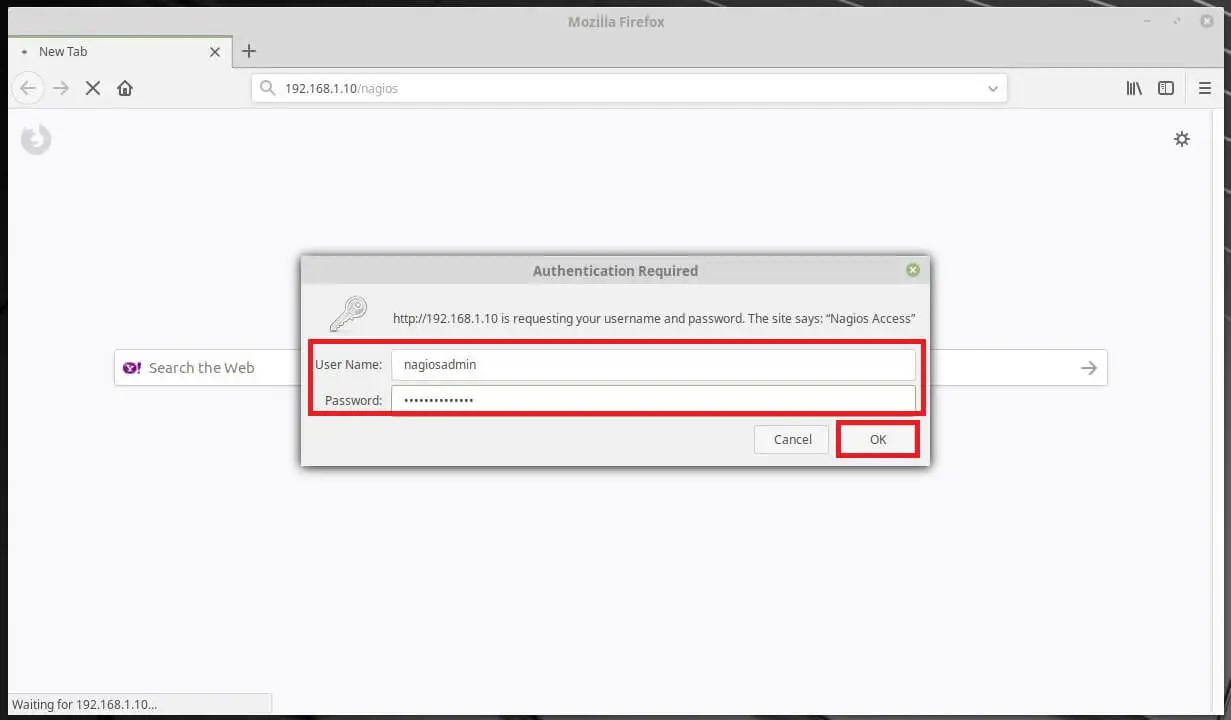
Now access the Nagios web interface using the following URL.
You’ll be prompted for the username (nagiosadmin) and password you specified earlier.
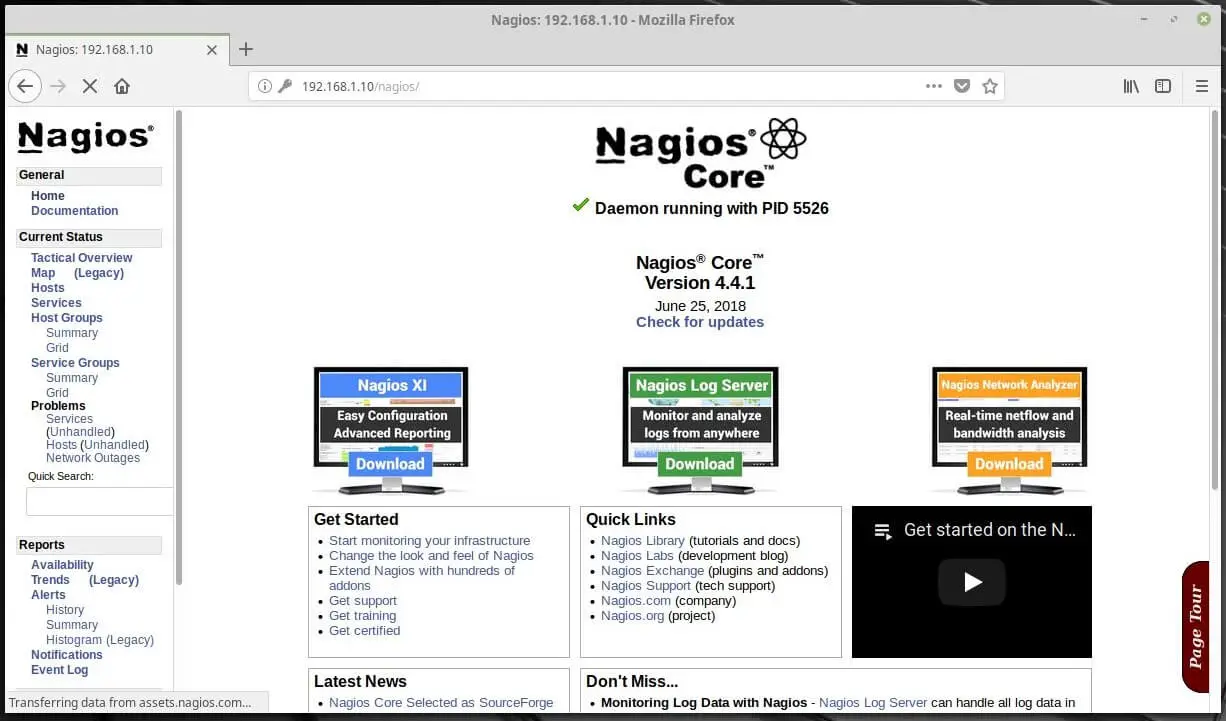
Nagios Dashboard:
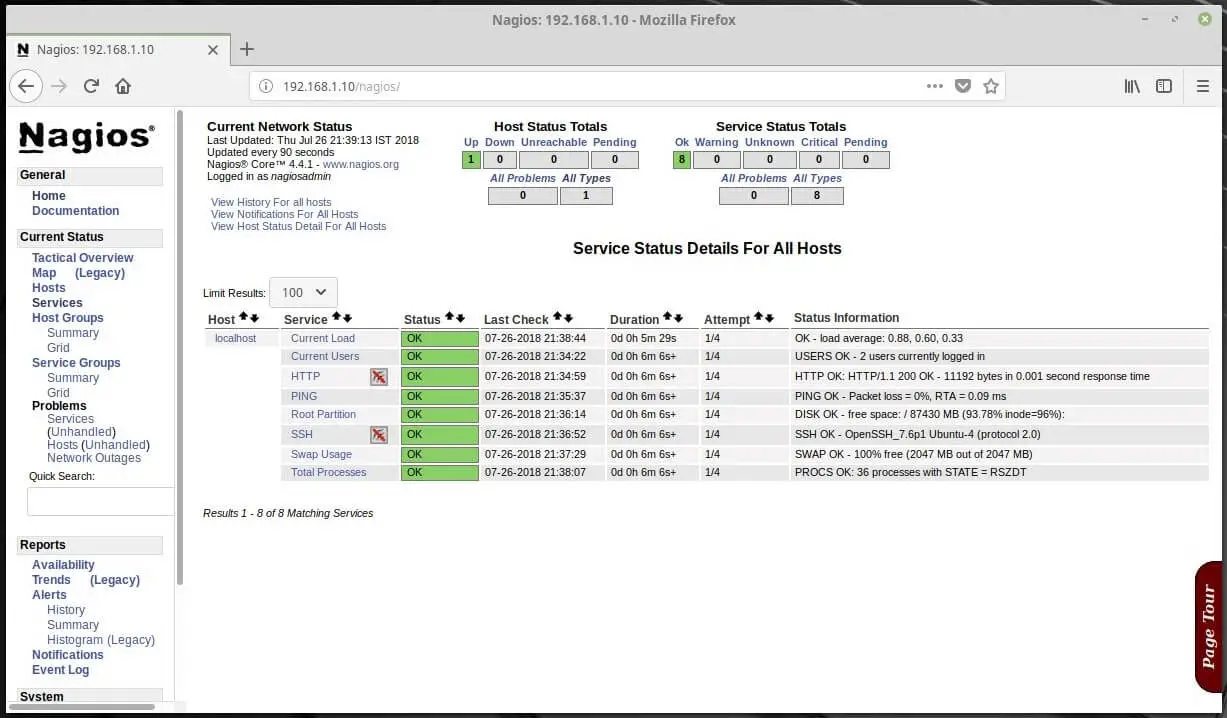
Monitoring Services:
That’s All. Now, you are ready to add Linux machines to Nagios Monitoring tool.